|
One day last week I was Googling myself (y’all ever do that? Why does it sound just a bit naughty?) and was surprised to see one of the search terms that popped up was “Gin Stephens Bread Recipe.” Um, wow. People are looking for my bread recipe? I am not a chef, nor do I play one on TV, so that was a huge surprise! It just so happens that I do have a wonderful bread recipe that I have fine tuned over the months, and I make amazing homemade rolls from wheat flour that I mill from wheat berries. And, the recipe isn't written down anywhere to be found...yet. That changes today! And, since people have been searching for "Gin Stephens Bread Recipe," that is what I called this blog post. #KeepingItSimple #GivePeopleWhatTheySearchFor  So, who’s ready for a bread-making lesson? No matter where you are along the continuum, this blog post has got you covered. BACKGROUND: If you have read my second book, Feast Without Fear, you may remember my fascination with Michael Pollan's Netflix series Cooked. I really loved episode 3 (Air), which explores the evolution of bread-making. I was absolutely glued to the television as a woman made bread while sitting on the floor of her living room. She mixed it with her hands, added water, and you could tell that bread making was automatic for her. As soon as I watched that episode, I thought, "I want to do that." But, I was REALLY intimidated by the thought of baking bread. I had played around with it a decade previously, and I even dabbled in milling my own wheat. I got a fancy bread machine, a fancy wheat mill, and I experimented. Because I never really got the hang of it, I soon lost interest, and those appliances joined the others in my appliance graveyard (also known as the REALLY high-up cabinets). Looking back, I think the bread machine may have been the issue. When I watched Cooked, the bread makers got personal with their bread. They touched it. They worked it with their hands. The bread machine turned it into a more clinical process and so I never really connected with it. About four months after releasing Feast Without Fear. I was at an event with other ladies from my community, and one of the women brought a loaf of bread she baked. She casually mentioned that there was a book that changed her life called The New Artisan Bread in Five Minutes a Day. I bought the book on my Amazon phone app that very minute and I have been baking homemade bread for my family ever since. If you are a beginner, as I was, this book is perfect for you. I recommend that you begin with the Master Recipe on page 53. You can do many things with it, but my favorite was making the dinner rolls, and the recipe is on page 88. Why is this book so special? It's their simple technique. You mix up a few simple ingredients (flour, lukewarm water, salt, and yeast), stir it together until you have a wet dough, let it rise on the counter (still in the bowl) and then you throw it into the fridge (covered) until you are ready to use the dough. Every night, I would pinch off enough dough to make the number of rolls we needed for dinner, let them rest on the countertop while the oven preheated and the rolls came to room temperature, and then bake them. The rest of the dough went back into the fridge, and one batch would last for several days, gaining an almost sourdough characteristic as the days passed. We were immediately hooked. I used organic white flour, and the rolls were fluffy and delicious. Fast forward again, this time 9 months. I was cleaning out some cabinets and ran across my old grain mill. All of a sudden, I knew that it was time to take my bread baking to the next level. I had a bit of a mishap at first: a very important seal was missing/broken on the grain mill, so when I attempted to grind the wheat berries into flour, the mill spewed a fine dust of flour all over my kitchen in the few seconds it took me to realize what was happening and shut the machine off. Oops. I was still finding flour dust a few weeks later. I decided that my new adventure in bread baking deserved a new grain mill, and I settled on a Wonder Mill. I bought it from the Bread Beckers website, and I can't recommend their company highly enough. Their website has many valuable resources, including instructional videos, recipes, and more. You can even go to their store near Atlanta, GA and take classes. While I haven't made the trek yet, I plan to visit at some point. 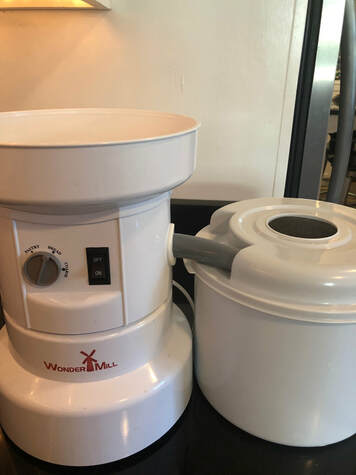 I tried to use the same recipe I had gotten used to from the Artisan Bread book, but the freshly milled flour is VERY different than refined white flour. Why? Well, that could be a whole blog post of its own. Fortunately, Daniel Duane, of Food and Wine, has already written that article, so click here to go to it. From that article: "Wheat berries have three main components—bran, germ and endosperm—and industrial milling removes the first two while subjecting the third to heat treatment, bleaching, chemical preservation and "enrichment" with liquid vitamins. This turns an ancient food into a shelf-stable commodity with little protein, fiber or flavor." When I tried to use the recipe that had worked so well for us for months) with the freshly milled wheat flour, what I ended up with was a hard dense roll, and my family was NOT happy. Everyone grumbled about the change. Fortunately, I knew that I would figure it out. I began using a recipe that I got from the Bread Beckers, and the rolls were much better...however, I missed the ease of the technique from the Artisan Bread book. I was totally out of my bread-baking groove, and my family was still complaining about the change. One day I had an aha moment. What if I tweaked the recipe from the Bread Beckers and did a mash-up with the techniques from the Artisan Bread book? Would that work? After much experimentation, I finally figured it out, and this is the recipe/technique I am sharing with you today. This is how I do it, and how it works in my kitchen with my oven and my tools. One thing I have learned: bread making is very much a personal experience, and so be prepared to tweak the recipe for yourself. Adjust the amount of flour until you get the consistency you want, and also realize that since yeast is a living thing, each batch of dough will be a little different from the others. NOTE: When you first start, this recipe/technique will seem REALLY COMPLICATED and even EXOTIC. And MAGIC. Definitely MAGIC. Over time, it will get so easy that you won't even need to refer to the recipe anymore. Trust me. The whole process takes me about 10-12 minutes, from start to finish. I begin with
 Next, I turn on the wheat mill and let it get started before I pour in the wheat berries. Apparently, this is a very important step, and if you don't turn the machine on first, something awful happens. I never want to find out what that is, so I follow their directions. Once the mill is humming along, I pour in the wheat. 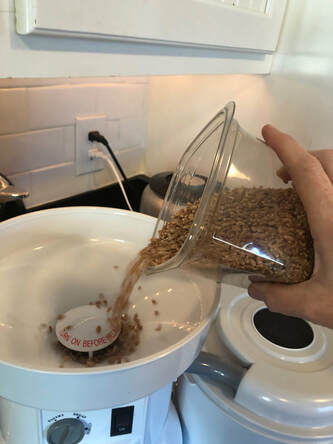 The flour you end up with is full of all of the wheat-y goodness, and in mere seconds. (Important note: when milling wheat, you want to mill it as you use it. It's not shelf-stable like the refined stuff we are used to buying from the grocery store. So, plan on making a new batch of flour when you need it and discard any that you don't use.) I'm not sure exactly how much flour you end up with, but it is somewhere around 3 cups. I use all of it to make one batch of the bread. This is what the freshly milled flour looks like:  Next, it is time to get the liquid ready. Into a small saucepan, place
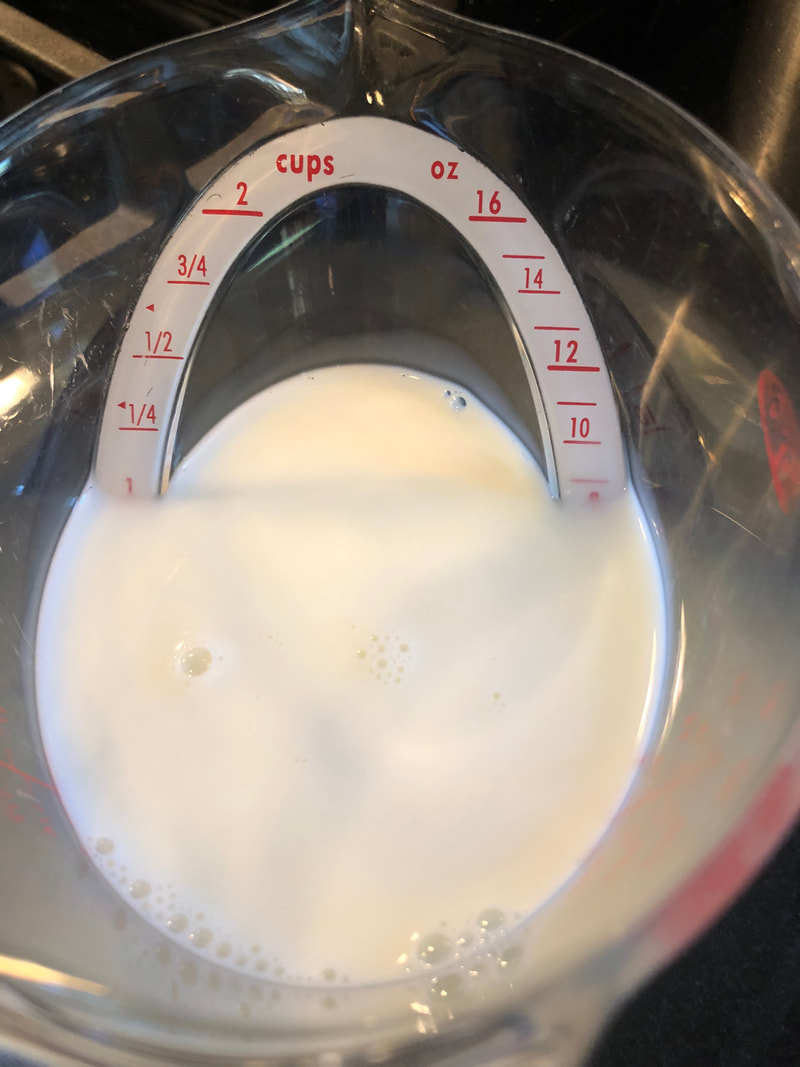 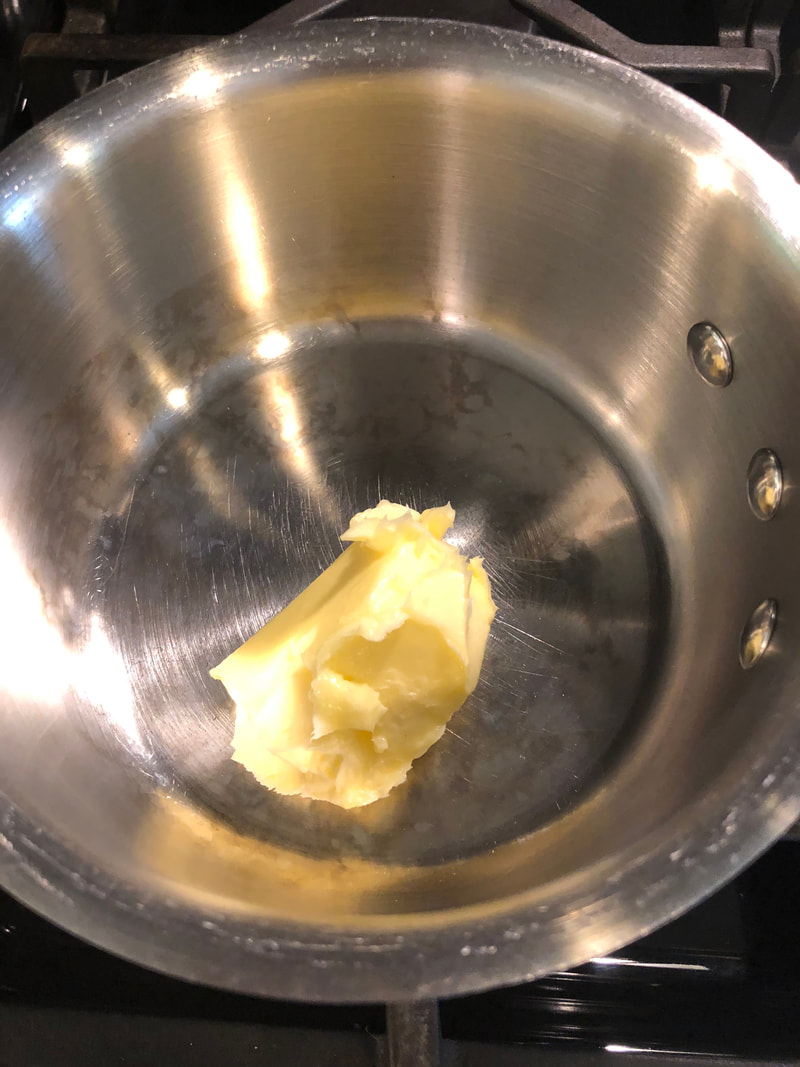    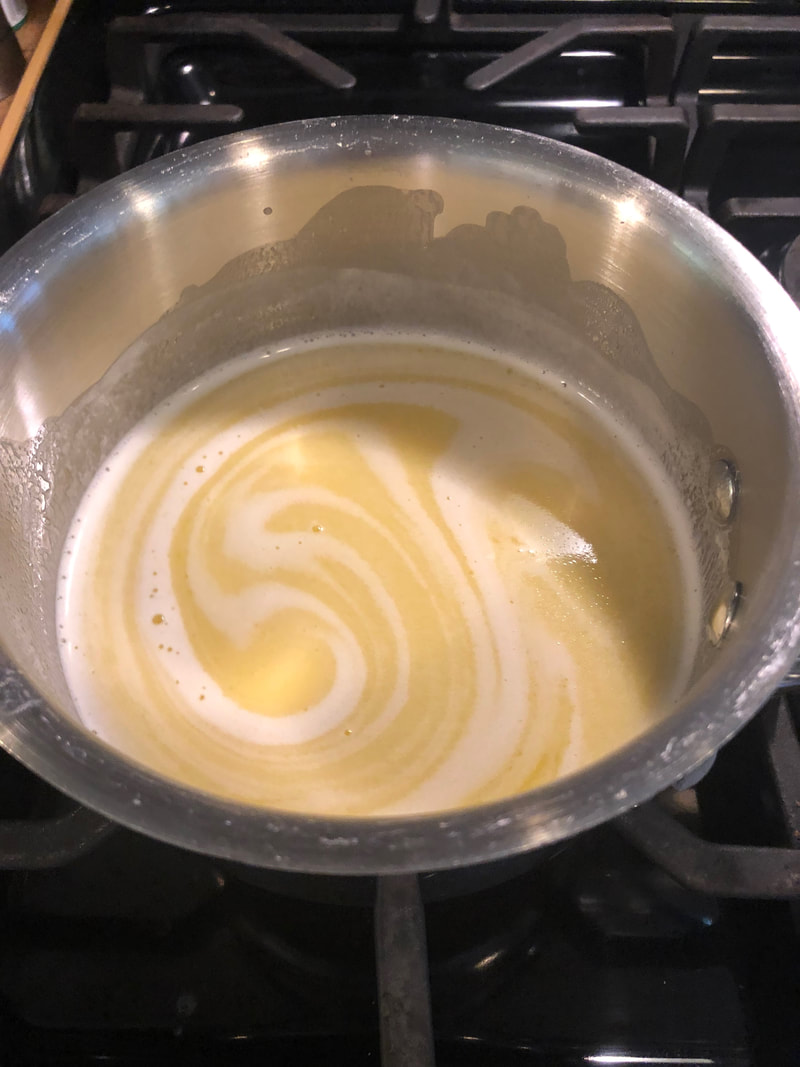 I have a Kitchen Aid mixer and use the dough hook attachment (you know, the one it came with that looks like Captain Hook left it behind, and you never knew what to do with it until now?) I pour in the milk/honey/butter mixture from the saucepan, add
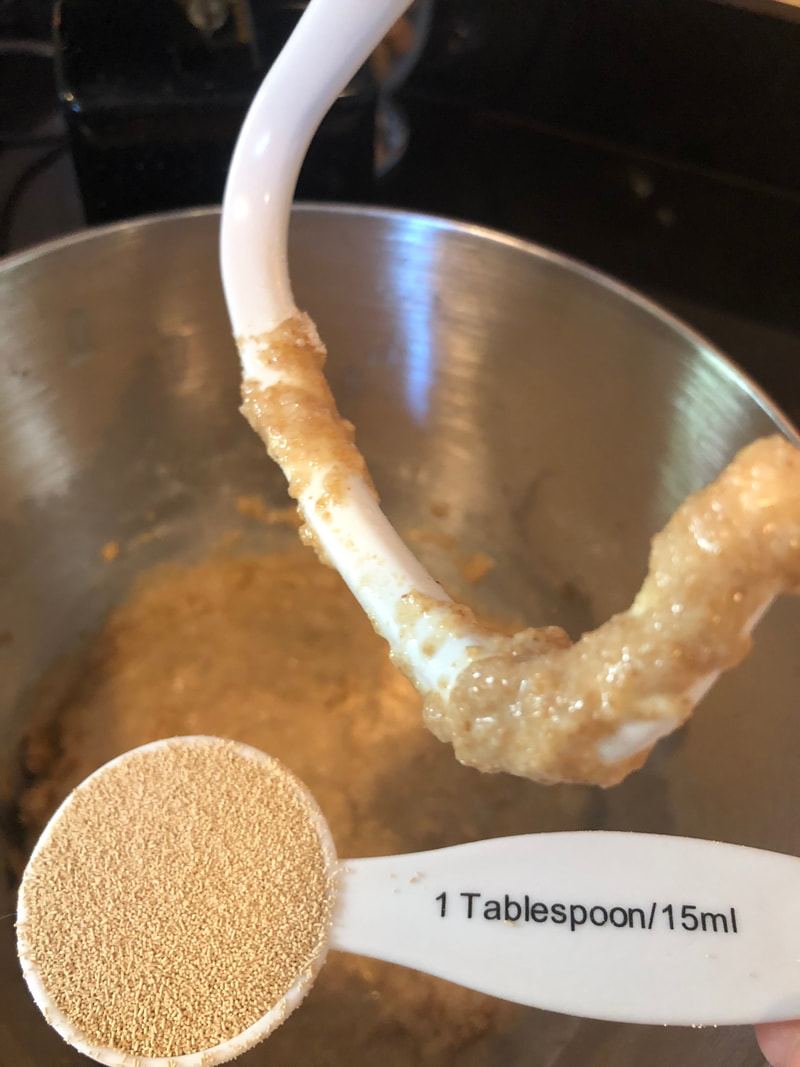
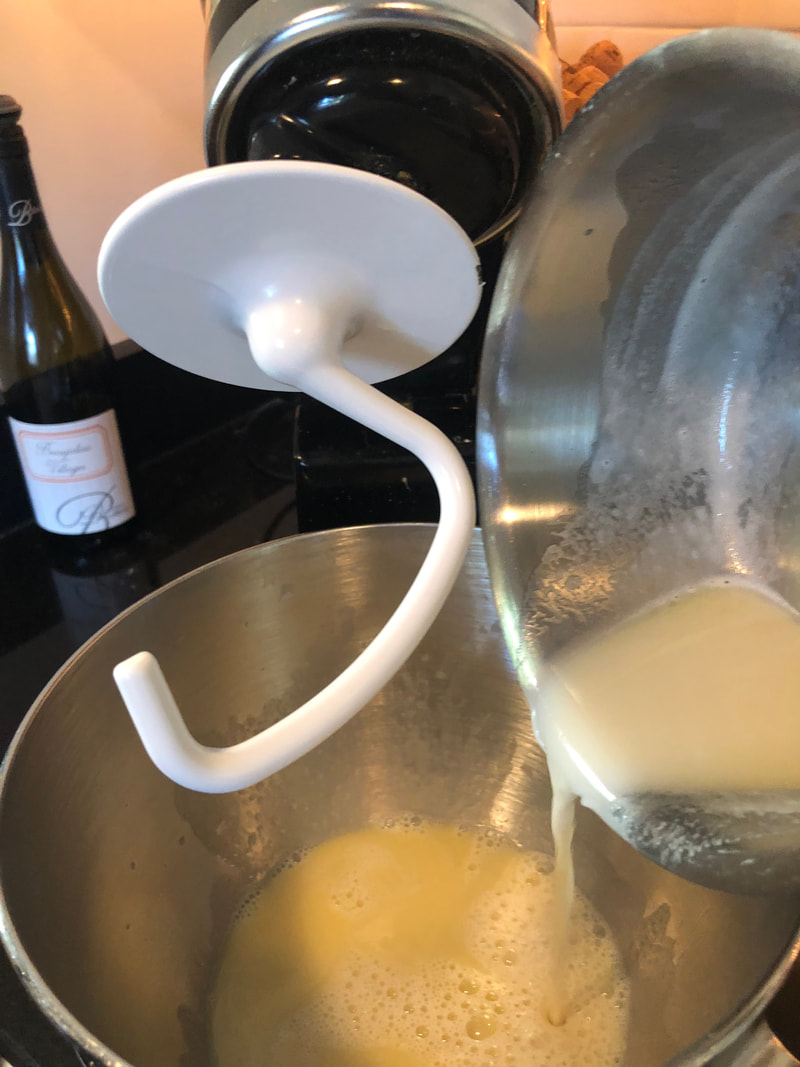   Next, measure out 2 cups of the freshly milled flour (you will still have some left; you will use that in a minute) and add that to the mixer. Stir it around, scraping down the edges of the bowl until it is combined into a very wet "batter." 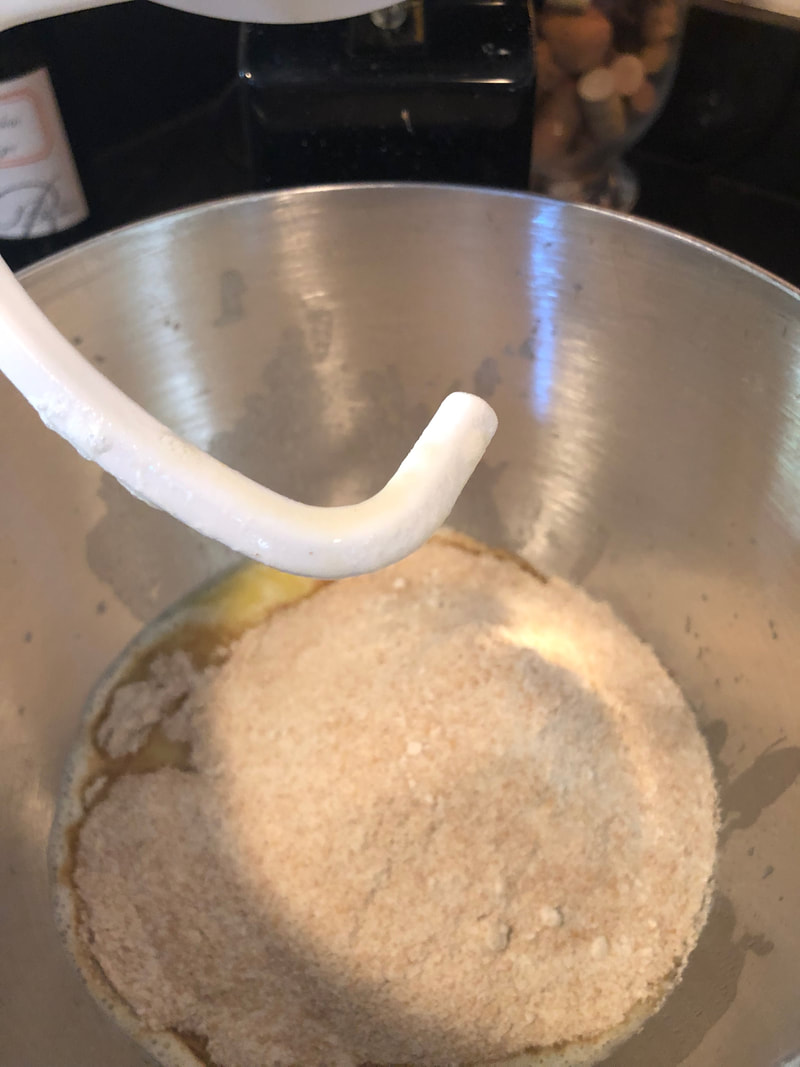 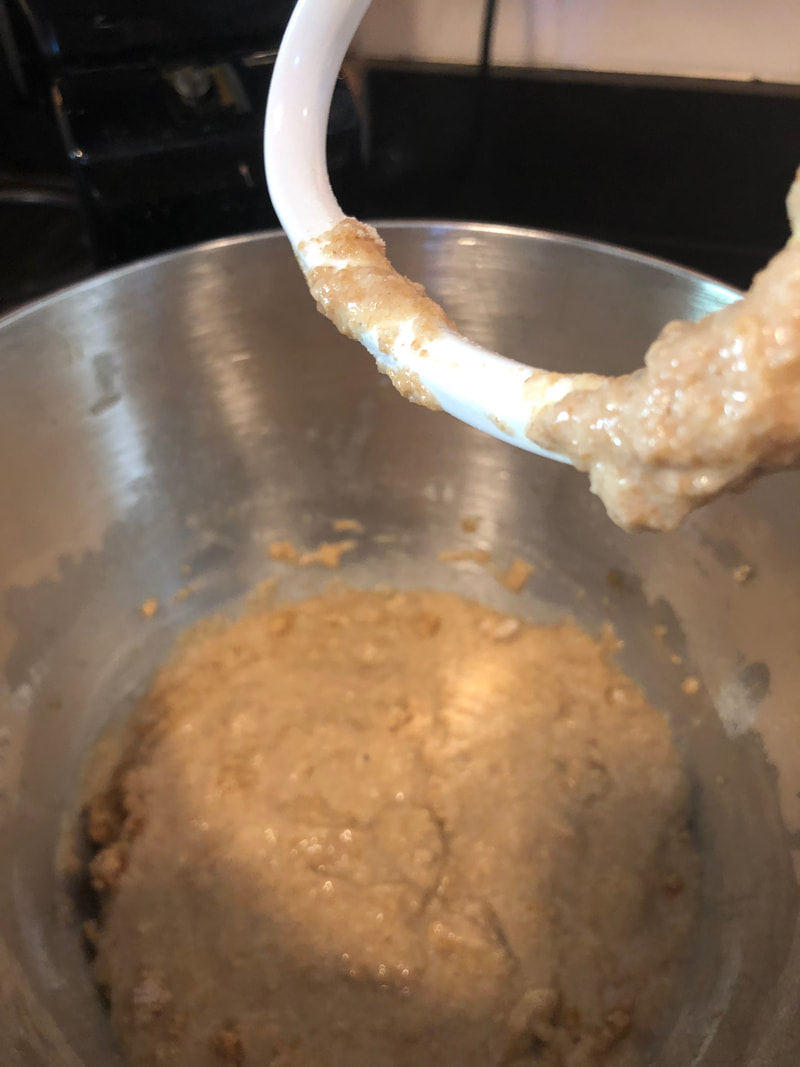 Now, it's time to add the yeast. I keep a big bag of Red Star yeast in the freezer, and I pull it out just before using. (That's why the photo looks blurry...the bag "fogged up" in the photo after I took it out of the freezer.) Measure out:
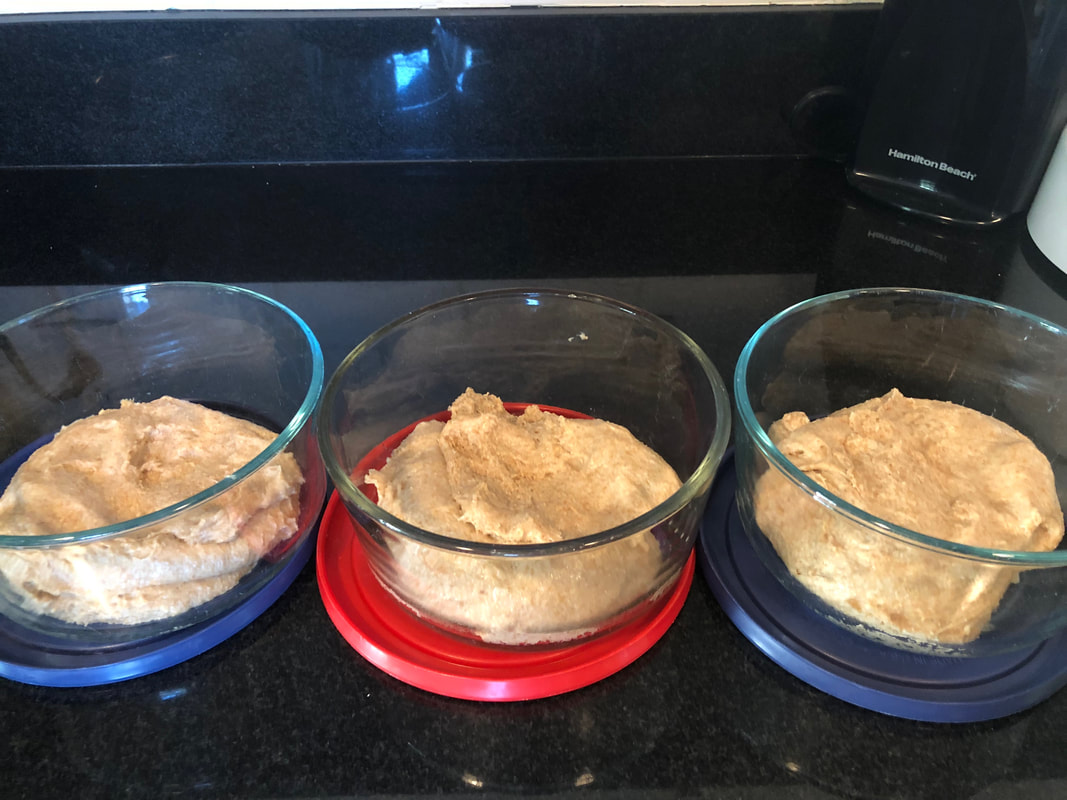
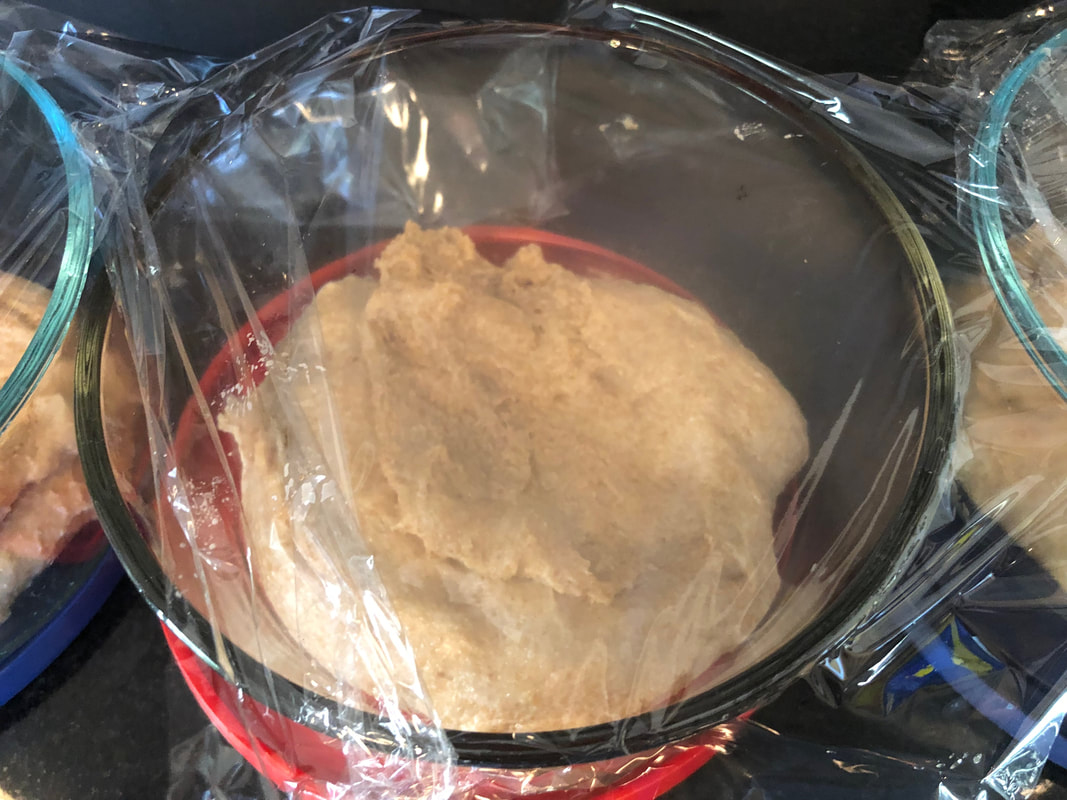
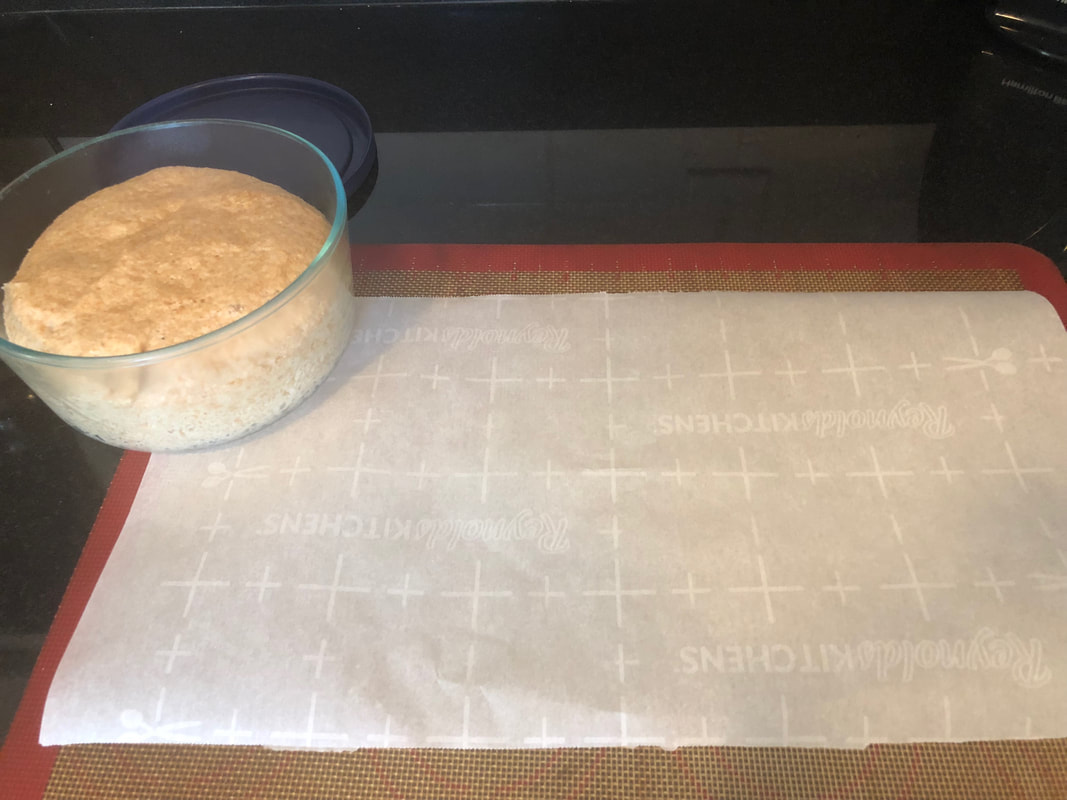
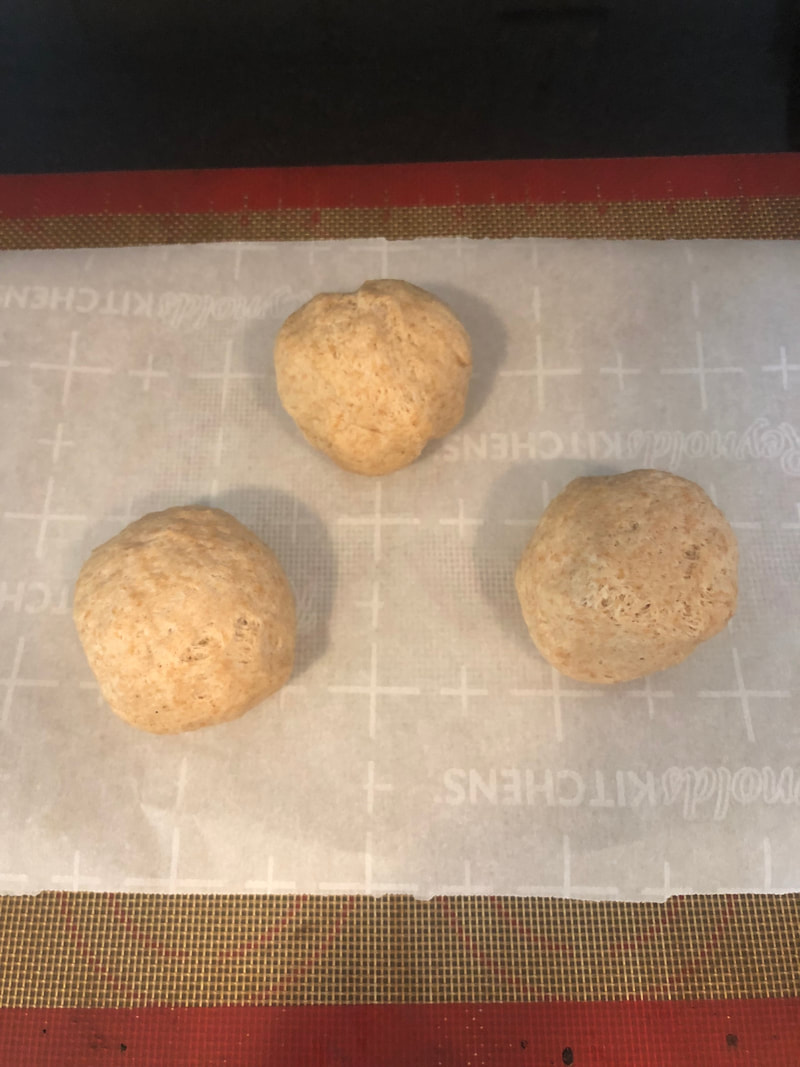
  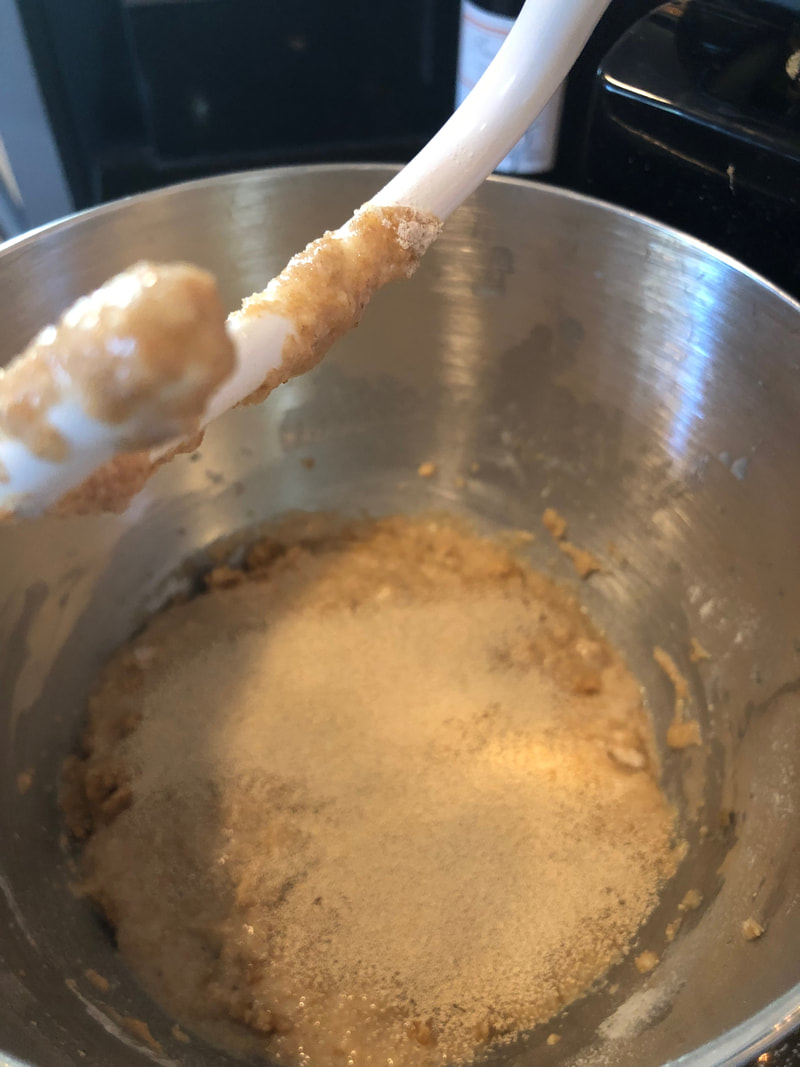 Next, dump in the rest of the flour from the grain mill canister and start mixing. I always have to stop and scrape down the bowl sides at least once. 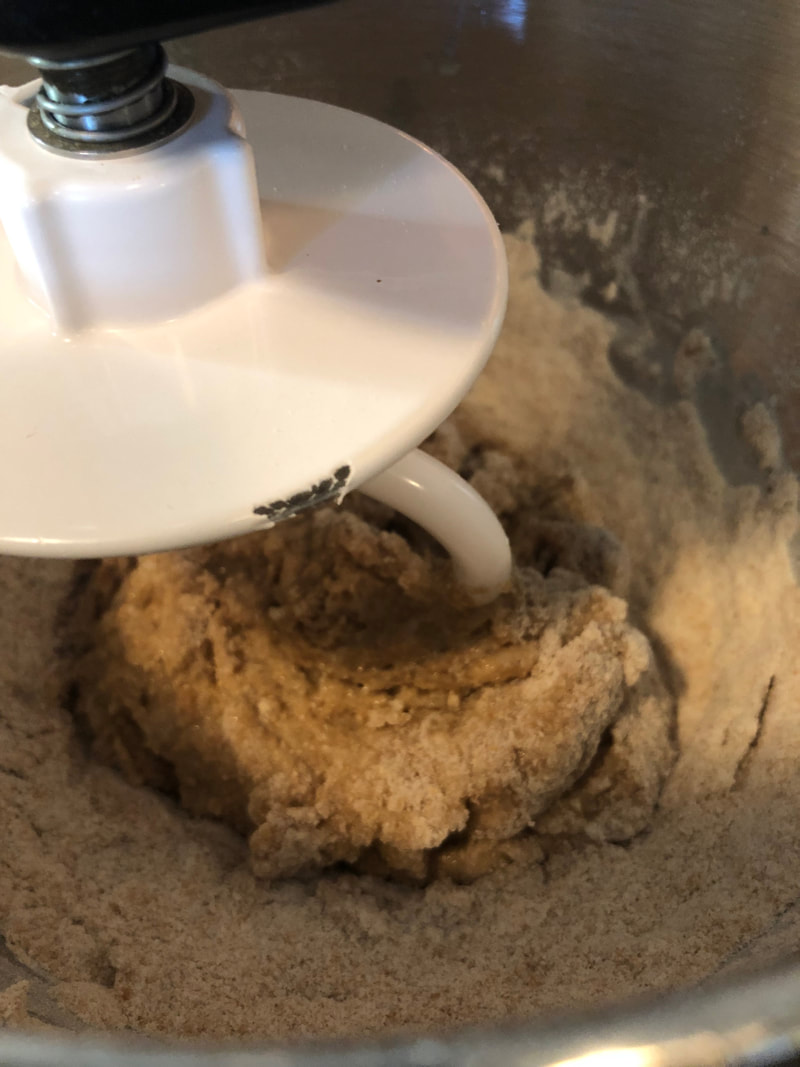 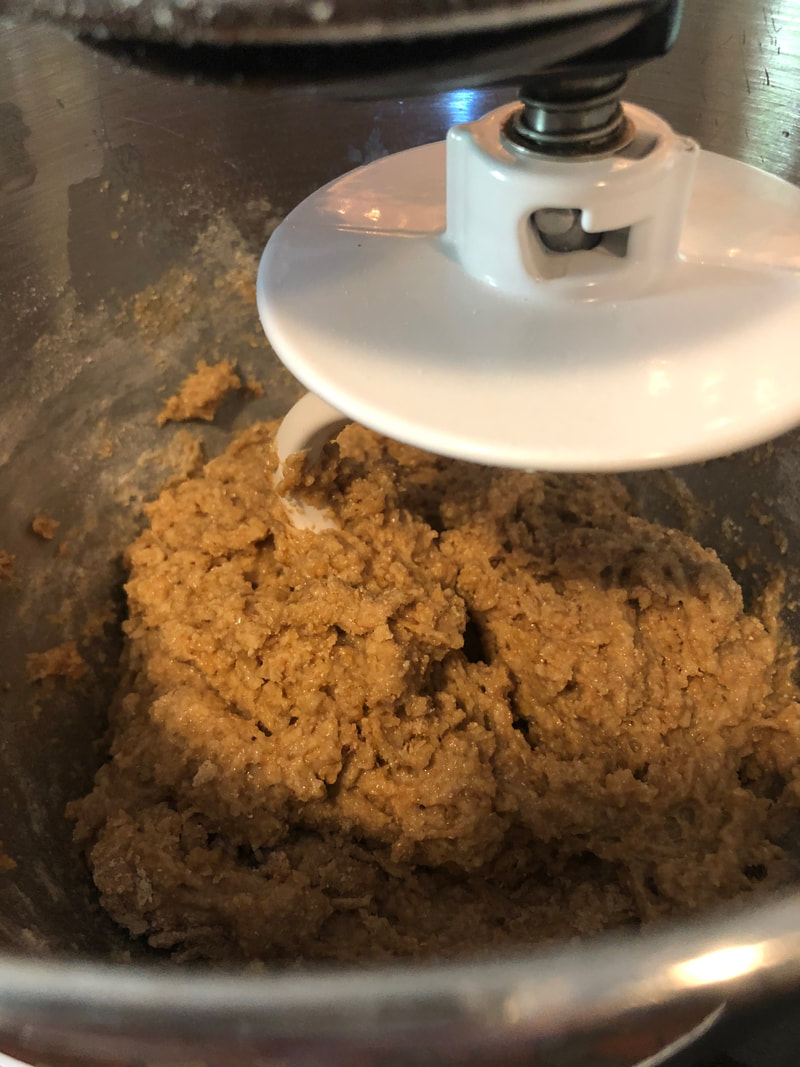 Once the mixture is combined, set a timer for 5 minutes and let the mixer do its magic. It goes from this:  To this, at the end of the 5 minutes: 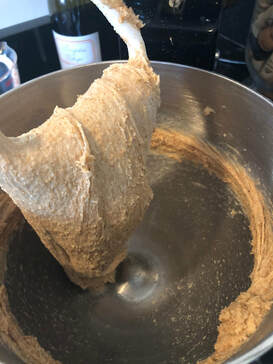 Are you ready to get your hands into the dough? I like to set my containers out ahead of time while the mixer is kneading, so they are ready when my hands are messy. I use pyrex bowls with lids, and I divide my dough into three containers, meaning it will last us for three nights. Each bowl of dough will make 3 or 4 rolls, which is how many we need for our family. Adjust as needed for your family. You can even put it all into one big bowl at this point, but I like to portion it out because it is more convenient. After the dough is finished kneading (when the 5 minutes in the mixer is done), I coat my hands lightly with olive oil and put ⅓ of the dough into each of the containers. I cover lightly with plastic wrap and set another timer for one hour. Walk away, because your job here is done. It's time for the yeast to do its magic. At the end of the hour (or a little longer, if you get busy...luckily, the dough is forgiving), your dough will have risen. Cover the containers and put them into the fridge for a few hours. (Note: This is for all of you who don't want to wait for the dough to sit in the fridge for a few hours...you absolutely could skip the fridge step if you want to make your first batch of rolls immediately. If so, the bread dough will be really sticky and hard to work with. You will want to coat your hands with olive oil and go straight to the dough shaping step, below. Also, you won't need to let your dough sit out for as long before baking...30 minutes should be enough, and then you can go ahead and bake the rolls.) For those of you who do NOT want to skip the fridge step, this is what it looks like when you put them in the fridge. Notice how nicely the dough rose during the hour it sat on the counter: 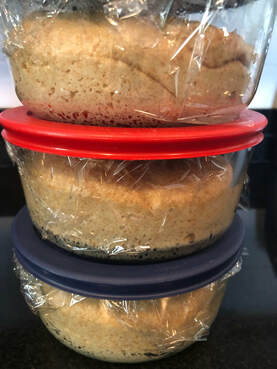 In a few hours (or tomorrow) your dough is ready for you to shape the rolls! The dough is a LOT less sticky after sitting in the fridge and much easier to handle. This part is really easy. I use a silicone baking mat and I put some parchment paper on top of it. Take one container of dough out, and then I use a knife to portion it into either 3 or 4 portions. In this example, I am making 3. Grab each portion and shape into a roll, smoothing the dough as you shape it. If the dough is sticky, use olive oil on your hands. Let the rolls sit there on the counter for an hour or two to come up to room temperature. They will also rise a tiny bit more. I usually shape my rolls sometime between 4 pm and 5 pm so they will be ready to bake for dinner. About 30 minutes before baking, I place a pizza stone into the oven and turn the oven on to 400 degrees. (I use my oven's convection setting, so my oven actually adjusts the temperature automatically down to 375 degrees.) Right before baking, I melt some butter and brush on top of the rolls. I place the silicone baking mat with the rolls on top of the preheated pizza stone and bake for about 12 minutes or so...keep your eye on what's happening, and take the rolls out when the top is golden brown and they are done.  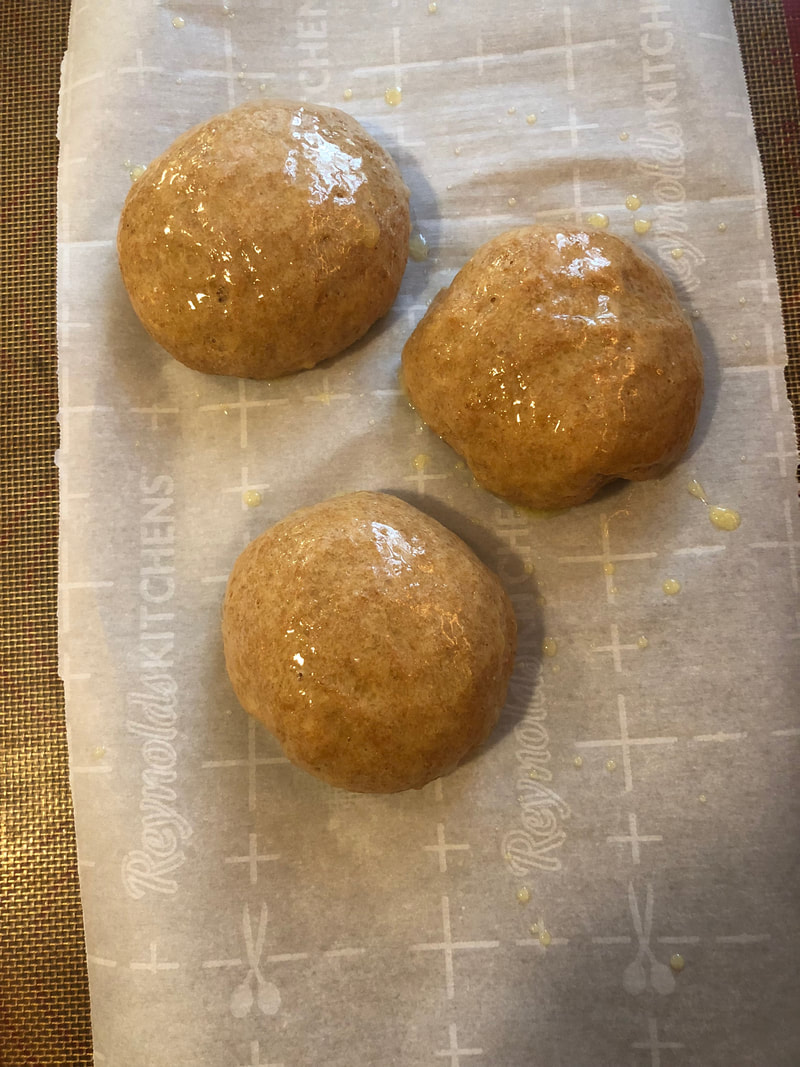 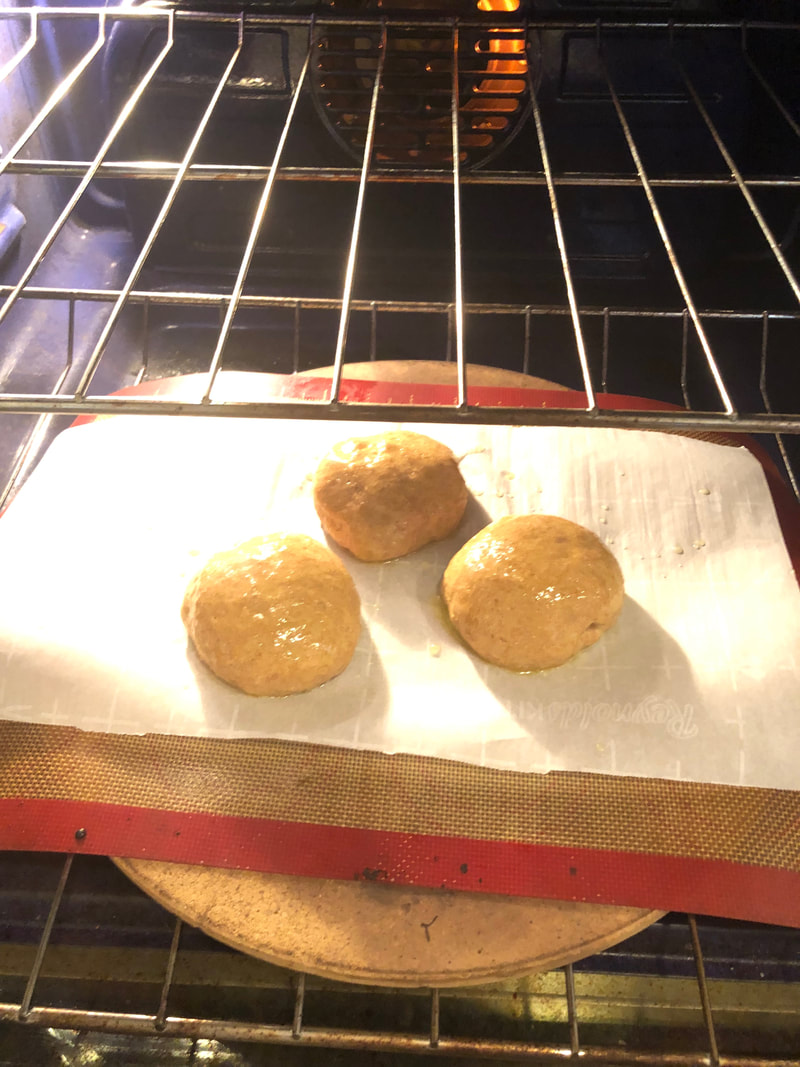 Voila! Rolls. 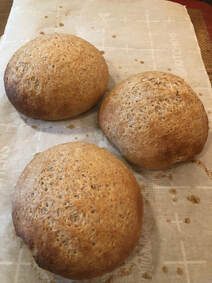 And, there you have it. Now you know how I turn this: 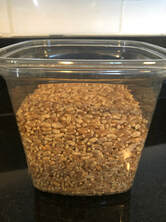 Into this:  Have fun! Experiment! And, don't be afraid to tweak the recipe until you get the results you are looking for. The most important thing is to get started, and most of all, prepare to wow your family as you enjoy your bread! #FeastWithoutFear While I make rolls, you may want to make loaves of bread. As I said, experiment, and see what you come up with! Now, looking back, I don't know what I was so afraid of. If that lovely woman featured in the Air episode of Cooked can make bread on her living room floor, *I* can make bread, too. And, so can YOU.
4 Comments
Monica
4/4/2019 05:27:23 pm
Thanks Gin!
Glori Schneider
4/4/2019 09:42:51 pm
Gin, I just have to say I can smell it cooking, as I read this. Your family is blessed to have you baking bread. My Mom made bread every Wed. when we were growing up. We could smell it 4 blocks away. When we walked in there were at least 3 loaves of bread, cinnamon rolls, dinner rolls and either eclairs or cream puffs. We were the luckiest 6 children for miles around. Thanks for taking me down memory lane as my mouth watered oh and so did my eyes. Bless you
Sheryn Chambers
4/5/2019 02:51:23 am
Fantastic. Thanks
Marlene
4/5/2019 04:11:33 am
You did a great job of making something a bit complicated look easy. The teacher in you lays it all out step by step that makes it easy to follow. Your comment will be posted after it is approved.
Leave a Reply. |

Author
Gin Stephens lives in Augusta, Georgia, where she has been following an intermittent fasting lifestyle since 2014. In addition to writing the #1 Amazon best-seller Delay, Don't Deny and the follow-up book Feast Without Fear, Gin is host of the Intermittent Fasting Stories podcast and co-host of The Intermittent Fasting Podcast, along with fellow intermittent faster and author, Melanie Avalon. Check out www.intermittentfastingstories.com and www.ifpodcast.com or search for the podcasts through your favorite podcast app. Archives
March 2021
Categories
All
|


 RSS Feed